Dialing In Comfort and Control for Rough Gravel Descents
By Linea Jantz
Cover photo courtesy of Linea Jantz
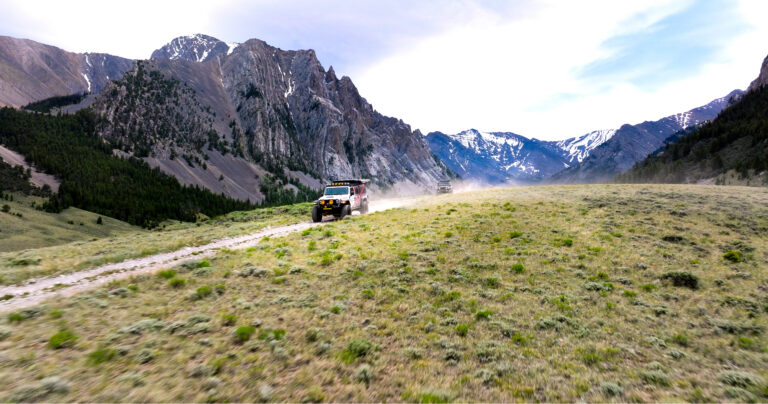
I got my first gravel bike last spring. I have loved the more nimble climbing ability; however, descents I wouldn’t think about twice on my mountain bike wreck my wrists. The breaking (braking?) point was a ride up the dirt roads on Dooley Mountain near my hometown in eastern Oregon. I climbed to the summit for a gorgeous view of the surrounding hills. Then I descended for miles down washboard, rutted-out roads peppered with half-buried rock. My wrists were so pummeled by the bottom that I could barely brake—which was not a good state to be in on even moderately steep roads. There are people who ride gravel bikes over 700 miles on the Cross Washington on much chunkier surfaces than this. What was I doing wrong?
In talking to different riders, I found that a lot of people had similar struggles with their wrists when they started gravel biking. Soon I was wading through a Google swamp of articles titled “The [insert number] Best Suspension Stems,” treatises on coil vs. elastomer springs and pro and con lists on suspension forks. I wasn’t looking for the best bike setup in existence, I just wanted something reasonably priced that would allow me to work up to riding a century or two without massacring my hands. So I turned to the OGs in the Gravel Braintrust.
The overarching suggestion for a rider planning to mainly take their bike on regular gravel or dirt roads was to get a Redshift suspension stem with elastomer springs. For added comfort, other suggestions included top pads, drop bar grips, using thicker bar tape (or doubling my current tape), a suspension seat post and possibly bigger tires. For chunkier, longer rides like the Cross Washington, some people are big fans of the Lauf fork.
The biggest surprise for me was how many people recommended riding in the drops on rattling descents. I wouldn’t even consider descending in my drops. I was pitched so far forward riding in the drops and couldn’t reach the brakes. It seemed like a terrible idea. Maybe my bike fit needed tweaking so I had more control while I was in the drops.
I brought my bike to Josh and Morgan at Mojo Cyclery in Spokane Valley for help. We adjusted my seat angle and replaced my narrow handlebars with a wider 44 cm bar with shallower drop and flare. I had never heard of flare before: Basically, a normal drop handlebar is vertical from the main bar, but a flared handlebar drops outward. So a rider can use the top of the bar for regular riding, but on rough roads or descents the rider can use the wider base of the flared drops for better stability.
I took this new setup to Riverside State Park to see how it handled on gravel and small rock gardens. I would ride a descent gripping the top of the bar, then climb back up to try it in the drops. With the shallower drop, I could reach the brakes easily and descents were substantially less jarring. The wider handlebars also greatly improved stability and handling.
Having test-ridden a bike with the Redshift suspension stem, it is next on my list to add to my set-up. It smooths out road buzz and small bumps while not being so squishy that it makes it hard to climb while out of your seat. I’m looking forward to tackling longer gravel rides!
Linea Jantz is an avid trail runner, flatwater kayaker and loves all forms of pedal-powered locomotion. This spring you can find her getting distracted by cool trees or a particularly interesting lichen on a trail near you.