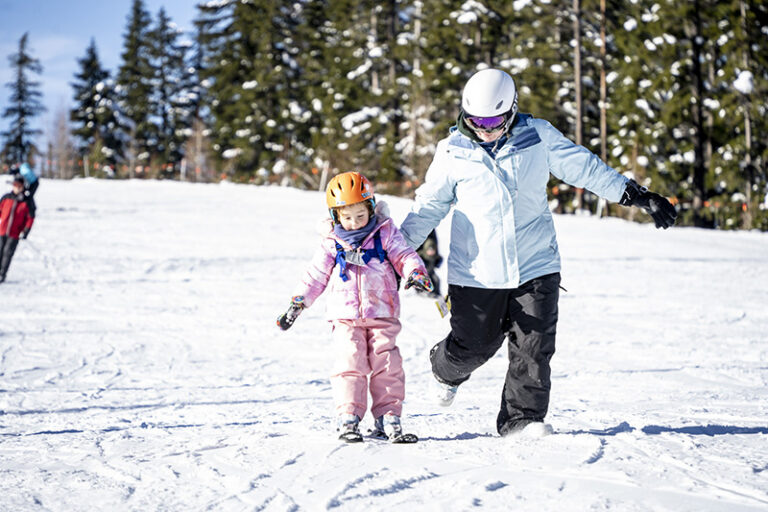
It’s a feeling that takes you all the way back to childhood. Many of us can remember a time when we were much younger, free of consequences, in the backyard stacking plywood to jump our bikes. Those days may be over, but jumping a bike still provides the same rush of adrenaline we felt as kids.
I am asked almost daily, “How do I start jumping?” I have been toiling over the answer for weeks. Before I break into the step-by-step process of leaving the ground, we need to establish a baseline of rider ability, bike set-up, and terminology.
Before taking flight, you should have a handle on intermediate trail riding. This means you have built up the necessary stabilizer muscles from pedaling and cornering to safely maneuver your bike when learning to jump. Most of the time, the more capable the rider is on the ground, the more capable they will be in the air. You don’t have to catch big air to practice for jumps. Just learning the balance points of your bike through cornering, manualing (balancing on the rear wheel while rolling but without pedaling), pumping rollers, and navigating steep trail will help tremendously when you are faced with a jump.
Proper bike setup will speed up your learning curve. First, look at your stem length. Most newer bikes will come with a stem length of around 50mm. This is a great length for all types of riding, including jumps. If you have an older bike with a longer stem, I recommend a shorter length coupled with a wider handlebar. The wider handlebar prevents your cockpit from feeling cramped after reducing the stem length. Next is suspension setup. The goal is to have a balanced amount of sag between your front fork and rear shock, along with equal rebound speeds for each, which help the bike preload evenly and send you on a level trajectory. If you haven’t done this before, refer to the manufacturer of your bike, or stop by your local bike shop, for proper suspension tuning. With the two major bike setup adjustments complete, inflate your tires equally to a pressure you like (I ride 32 psi when jumping) and lower the seat. Your bike is now ready to go.
With the majority of riders now on full suspension bikes, the term “preload” becomes important to understand. Preload is the compressing of the suspension before and on the lip of the jump. This can be monumental, or nonessential, depending on the type of jump, so it’s a good technique to understand. We will discuss how to preload later (if you ride a hardtail, disregard that discussion).
Step 1: Approach the jump with the proper speed. This is easier said than done. While you are learning, it’s best to follow a rider who knows the speed. As you become more experienced, you will learn to estimate and adjust your speed along any trail as you approach a jump. Your body position should be centered between the wheels. Often riders think they should move their weight rearward. Unfortunately, this can cause the front of the bike to drop in the air and create the terrifying “buck” sensation.
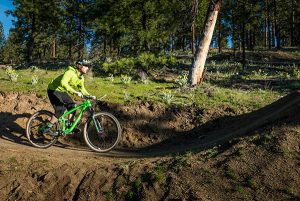
Step 2: As you reach the bottom of the jump, this is where you begin to preload. If the lip of the jump is a bike length or longer, the bike will naturally settle into its preload. It helps to actually place your bike on the jump and observe if the whole bike fits on the arc. If it does, you will likely have a smooth trajectory and contact the landing with both tires simultaneously. If the jump length is shorter than your wheelbase, you will need to actively preload your suspension before the lip. This helps time the compression and decompression of your fork and shock as if you were hitting a longer lip. This is why bigger jumps can actually be less technical than small jumps. Look for a jump with a lip that is as long or longer than your wheelbase and has a built-up tabletop between the lip and landing to provide a safety cushion if you come up short. Your body position as you are on the lip needs to be relaxed and fluid. When your front tire starts tracking upward, let your handlebars start moving closer to your stomach. This allows you to remain centered without moving rearward.
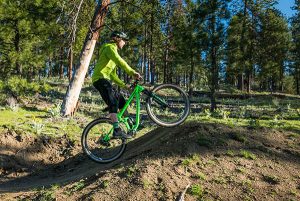
Step 3: You and your bike have just left the ground. The bike should be angled upward with the handlebars closer to your stomach. As you arc through the air, you will progressively push the handlebars away from you. At the peak of airtime, you should be in a similar position to riding on flat ground. As you start coming down toward the landing, keep pushing the handlebars away from you until the angle of your bike has matched the angle of the landing. This takes practice, but once mastered, it allows you to land smoothly and continue down the trail or off the next jump at the designed trail speed.
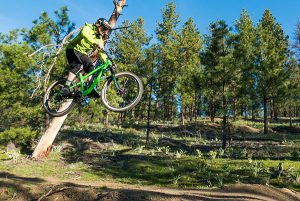
Step 4: Your tires have just contacted the earth. One mistake that less confident riders make is to start braking before or right as they land the jump. If you are off balance, coming up short, or overshooting, the brakes will only make things worse. It is better to navigate as best as possible down the landing and begin braking a few feet down the runout. If you have landed safely and smoothly, make sure to recenter yourself between the wheels to continue riding down the trail.
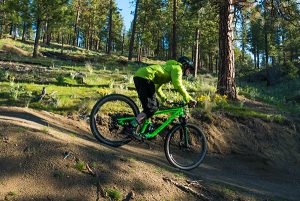
Learning to jump will likely be the scariest and most exhilarating thing you do on a bike this year. I have seen this process take all levels of riders off jumps they would have never dreamed of hitting before. Always start small, and slowly work your way to bigger jumps and eventually gaps. The thrill from even the smallest jump will have you hooked and riding back up for more. //


