Snow camping separates the die-hard backpackers from the rest of us who simply tolerate it or enjoy it for its best moments of adventure and serene wilderness. Those that love it with a particular zeal, however, share an unbridled passion for winter splendor-shoveling a level spot for pitching a tent, digging into snow to build a “backcountry kitchen,” the early nights with sunsets before five o’clock, and the chilly bare bum “bathroom” experiences.
At least that’s been the experience in my marriage. We’ve been snow camping a few times now, not all of them by choice. (There was one Memorial weekend trip to Harrison Lake that surprised us with snow, even though the Schweitzer summit, same elevation, was bare.) My husband loves everything about snow camping; I’m along for the adventure and bonding experience.
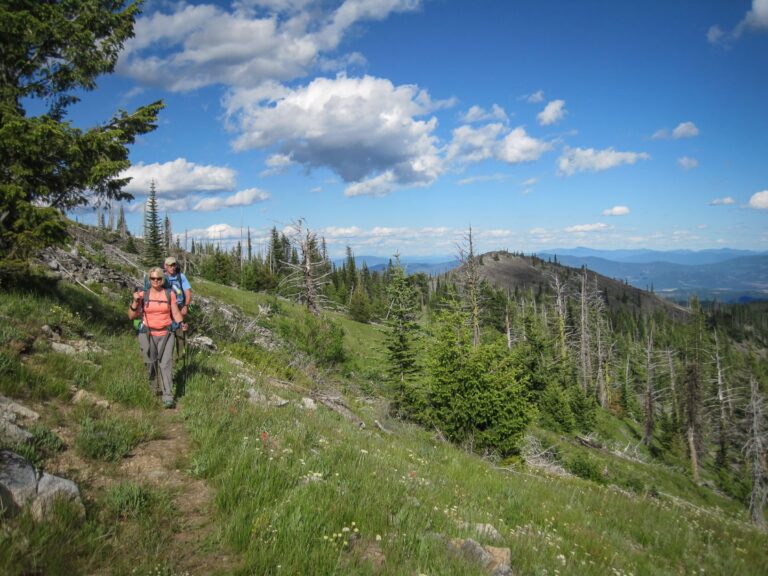
With a goal to backpack once a month from April to October, snow is typically inevitable. So I’ve learned to appreciate the particular joys of snow camping. And now that I have a 10-degree down sleeping bag, I’m enjoying it much more than ever before.
We learned about Copper Lake from Hike #29, to St. Regis Lakes, in Rich Landers’ 100 Hikes in the Inland Northwest. April is a great time to go if you’re looking for a snow camping trip with fairly reliable weather and stable avalanche conditions. (Otherwise, wait until late-June.) The snow pack is typically closer to isothermal in the early spring.
Snow covers the access road (elevation 4,725′) so trailhead parking is just off the junction road opposite the one leading to Lookout Pass ski area. At the end of last April, there was variable snow depth and some bare stretches on the road, which required us to alternate the use of our snowshoes. But once we reached the real trails, snowshoes were necessary.
You can hike/snowshoe or Nordic ski, depending on snow levels, on the road for nearly a mile (a slight decline) then go right and 0.1 mile to reach the first trailhead leading up to the rail-trail. Go left on the rail-trail. Be aware that snowmobiles are allowed on this multi-use trail.
You’ll pass a trail junction to the right that leads west to St. Regis Lakes. Stay straight, and the trail eventually makes a wide turn east, then south, before you reach the Copper Lake trailhead junction (4,400′) on the right. Altogether, the distance from the parking “area” to the Copper Lake junction is two miles.
The 1.3 mile trail to the lake gains 300 feet in elevation the first quarter-mile and then another 300 feet the rest of the way, as it roughly follows Copper Gulch (essentially, a creek) but never crosses it before you reach the lake. There may be snow bridges to cross on the way due to spring melt, which creates some additional adventure.
Copper Lake (elevation 5,000′) sits in a basin surrounded by several couloirs and peaks that rise to 6,300 vertical feet, which provide a variety of challenging backcountry ski slopes. The lake may not be completely frozen in early spring; regardless, it’s best not to venture onto the ice. You can also snowshoe around the lake.
Number one rule for snow camping: know the weather and snow pack conditions before you go. The Idaho Panhandle National Forests Avalanche Center website provides updated avalanche advisories –www.fs.fed.us/ipnf/visit/conditions/backcountry. Find the report for the St. Regis basin. You can also call the avalanche advisory line at (208) 765-7323 or 1-866-489-8664.
Other avalanche precautions include not going solo into the wintry backcountry and avoiding extreme avalanche prone areas. Always carry a shovel, an avalanche transceiver, an avalanche probe and a well-equipped first aid kit.
The trail to Copper Lake would make for a nice snowshoe day trip and even one for backcountry skiing if the trail isn’t too poached by snowmobiles. Although prohibited (only skiers and hikers allowed), there was obvious evidence of snowmobile tracks on the trail to Copper Lake when we went. If you plan to camp, it’s best to place your tent out of the way of any avalanche prone slope.
One major advantage with snow camping is the refrigeration provided by burying food into the snow, if you don’t mind carrying the extra weight of this food. (Who doesn’t get a bit tired of freeze-dried meals?) Digging out your own backcountry kitchen can also be fun. It’s fairly easy to create a cooking area that includes a bench and waist-high table. Although you can melt snow for drinking water, there can be access to the creek for filtering water.
And those who enjoy backcountry skiing should seriously consider bringing their gear.
Backcountry Frittata (recipe modified from one found in Backpacker magazine)
Ingredients: Egg Beaters(r) (Southwestern flavor recommended), sundried tomatoes (not in oil), some olive or vegetable oil (to create a non-stick pan).
Instructions: Rehydrate the sundried tomatoes in hot water. Cut into small pieces. Heat shallow pot or pan; add oil to coat the bottom and sides. Add EggBeaters mixture. Add sundried tomatoes and stir. Let mixture cook, occasionally using your backcountry spatula to break the frittata seal around the sides. When fully cooked, flip pot over onto a Frisbee (that doubles duty as a plate) to easily remove the frittata.
When You Go:
Take I-90 to the summit of Lookout Pass on the Idaho-Montana border, exit 0 and head south. Turn right at the stop sign and then left at the junction away from the ski area. In winter and spring, when snow covers the unplowed road, park here. Otherwise, head downhill for about a mile and turn right on gravel road to the trail heads.

