By Eric Deady
Cover photo courtesy of Eric Deady
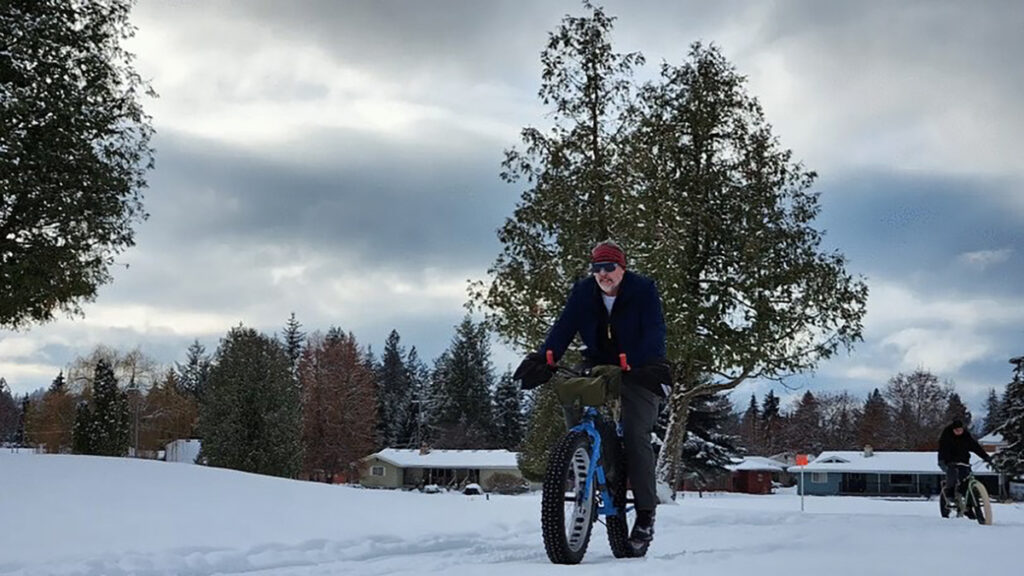
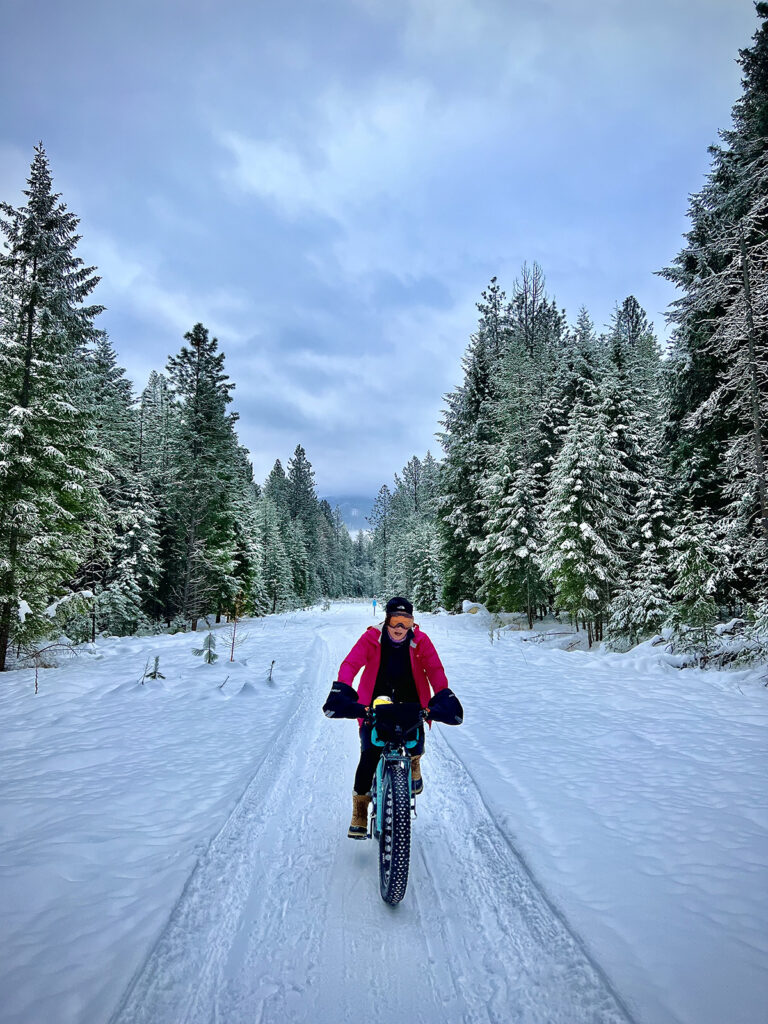
Winter has landed upon us, and it is time once again to dust off the fat bike. For those of us who enjoy the idea of traveling through the landscape during winter on a bike, or for those who may be considering fat biking for the first time, there are a few things to consider before heading out.
Where fat-biking in winter differs from other kinds of cycling is in the consequence of failing to get it right. Forgetting critical pieces of the puzzle can leave you in a dangerous situation very quickly, or can just ruin a good time. Getting all the right pieces put together to keep yourself safe and frostbite-free, is, for me, part of the allure of fat biking. I have to be a lot more vigilant in my preparation to avoid serious outcomes. So, here are a few things to consider.
Be Self-Reliant
Fat biking is best in remote areas, and we ride during a time of year when there are fewer trail users overall. Self-reliance means safety. Be sure to have a bail-out plan if things go wrong, a good GPS that will work in cold temps, and the correct maps loaded onto it. Be sure to have whatever tools you need on-hand to fix a mechanical problem and the knowledge to use them. Sitting in the snow is never a good time to try and learn how to use that new chain-breaker you got from Santa. Being self-reliant means that you can get yourself to safety and have the gear necessary to keep safe if you get lost or injured.
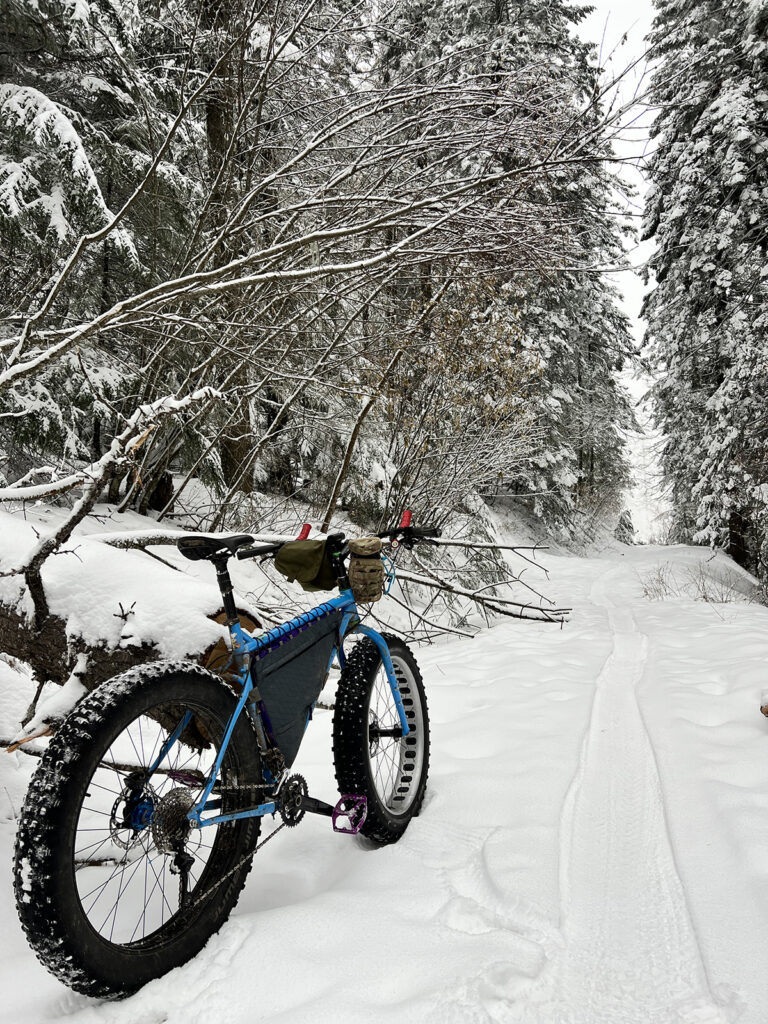
Bring the Right Gear
Fat biking in winter requires more gear, and there’s really no way around it. Outfit your bike with a frame bag, seat bag, or some other way to carry your gear that keeps it off your body and on the bike. This will make swapping layers easier and less time consuming. I prefer a rear rack and dry bags to carry bulky items, and a frame bag for the denser things. Have a small stash spot available to keep your immediate-need items like layers, snacks, and water so you don’t need to dig through your entire kit during a blizzard just to find that Scooby-snack. Outfit your handlebars with a set of Pogies to keep the wind off your fingers and your hands warm and less bulky. Bringing a simple folding stove and a fuel canister, even on short rides, will ensure that you can keep yourself warm and hydrated in an emergency and is also just a great way to have a mid-ride break with a warm cup of your favorite drink or soup. My go-to is a packet of Lipton chicken noodle.
Stay Warm . . . And Cool
This third thing may be the most important for your general comfort and overall safety. Layer, layer, layer! “Wetting out” your clothing can spell disaster, and can often lead to hypothermia. The best way to avoid this is through a well-planned layering strategy and by regulating your effort to avoid sweating. Start with thin, next-to-skin layers that wick moisture. Merino wool is a good choice here. Above your base layer, the idea is to allow any moisture wicked away to escape before it can penetrate your clothing and potentially freeze. That’s why you will likely be adding or shedding layers as your body heats up or cools down. Keep spares of safety-critical items like gloves, and know where they are when you need them. Always choose clothing that is easy to get on and off and fits well.
Keeping those three things in mind before heading out will help you stay organized and hopefully keep you safe should conditions deteriorate or a mechanical problem occurs.
Eric Deady has been bikepacking and touring around the world for more than 30 years and now shares that love of the outdoors with his children.