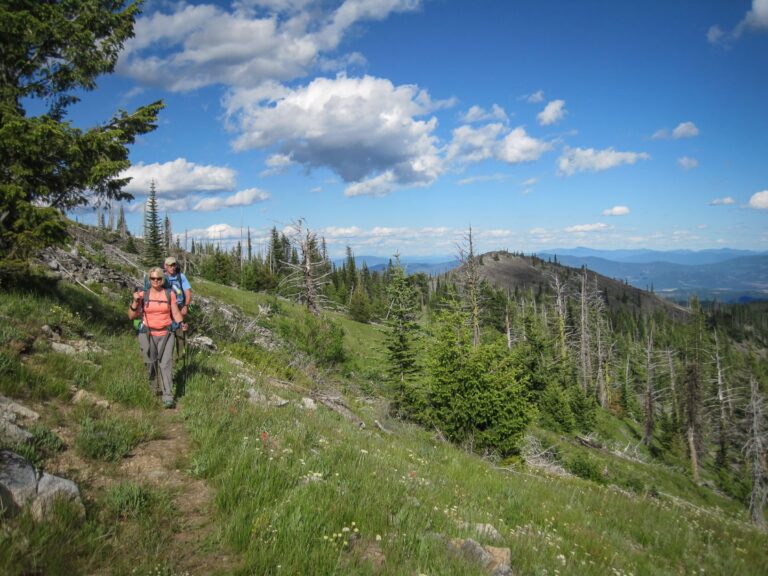
February can be hard for cyclists. It’s essentially a month where we wait for March. A great way to burn some February evenings is to overhaul your bike. If you do not consider yourself to be a mechanic, don’t stop reading here. With a bit of guidance, either online or from someone who has some basic skills, you may be surprised at how capable you are. If you are going online to figure out bike stuff, start with sheldonbrown.com. There are also lots of good bike maintenance books available.
If you’ve never done any work on your bike, and you don’t have help, bring your bike in for a quick inspection by a local bike shop (LBS) when you are finished. While bikes are simple, it’s still a machine that you are relying on to stop and go in predictable ways. Expect the LBS to charge for the inspection. Consider it a cost of your bike education.
There are a handful of bike-specific tools required for a full overhaul. You have the option of buying tools, or bringing your bike to your LBS for service. The most important bike tool that you can’t live without is a bike stand. From there, you’ll need a metric wrench set and then standard wrenches, pliers, screwdrivers, etc.
If you have no tools, go to Pedals2People, where you can rent a stand and tools for $5/hour. (Full disclosure: I am a founder of P2P).
Here’s a prioritized list of how to work through your bike.
CLEAN AND INSPECT DRIVE TRAIN: THE BACKBONE OF BIKE MAINTENANCE.
• Check the chain for stretch. There’s a $14 tool to check for “chain stretch.” It’s one of the easiest ways to keep track of your drive train. “Chain stretch” is a term that describes how the bushings in the links wear down. As they wear down, the chain elongates and wears the gears too. Once the chain is worn to a certain point, replace the chain. The alternative is to wait too long and replace everything.
• If the chain is a keeper, clean it.
• Clean the rear cassette/freewheel. If your chain is not worn, and you’ve not had chain slipping issues, then it’s likely your cassette does not need replacement. If you have the specific tool to remove the cassette, do it. Soak it in your cleaning solution. Otherwise, you can get the cassette clean enough by cleaning it on the bike.
• Clean and inspect chain rings. Unless you are ultra-OCD or the chain rings are super gunked up, you can clean these on the bike. Look for broken teeth on the ring. If there are many broken teeth on a single ring, consider replacing the ring.
• While the chain is off the bike, give the cranks a spin. They should spin smoothly, coming to a slow, even stop. There should not be any notchiness. Listen carefully to the bottom bracket. It should be silent when you spin the cranks. Grab the cranks on both sides of the bike and rock them; there should not be any movement side-to-side. If any of these bad things occur, overhaul the bottom bracket.
WHEEL INSPECTION: WHERE THE RUBBER MEETS THE ROAD.
• Slowly spin the wheel while looking for rips or cuts in the tires. Be sure to also look at the sidewalls. Sidewall blowouts can be dangerous. If you find cuts, use tire boots to fix them. This is one of those jobs to have inspected by your LBS.
• Inspect rims. Remove the tires. Clean your rims. Inspect the rim at each spoke. Sometimes spoke nipples can pull through the rim. Before they pull through, the rim usually shows bulging or cracking. If your bike has rim brakes (not disc brakes), then check the rim sidewalls. They should be straight. If they feel concave, they may be too worn, which can lead to blowouts. If cracking, bulging or concaving, go to the LBS.
• Inspect hubs. They should turn smoothly. Look and listen for the same conditions you did with the bottom bracket. Look for cracks in the hub especially around the spokes. Cracks? Go to the LBS.
CABLES AND HOUSING: JUST REPLACE IT
If you ride in gunky weather at all, you’ll get some crud in your housing. Crud slows down shifting and braking. Replacing cables and housing is a relatively cheap way to keep your bike performing well.
• Brakes can be tricky. If you have never set up brakes before, give it a shot, but be sure to have them inspected by your LBS before you ride.
• Check brake pads. Most rim pads have a “wear” line on the pad. If the pad is worn beyond the wear line at any point, replace them.
• There’s a difference between brake housing and cable housing. Understand it.
• Make sure your housing length is just right. If a mechanic at a LBS was the last person to replace your housing, then just cut your housing to the same length when you replace it. Otherwise, before you cut the housing, do some research on housing length and why it matters.
• Plan on adjusting the rear derailleur for perfect indexing after you replace the cable.
The other stuff: get help with these
The headset needs inspection. This is really something that should be done at least once a year and it’s something that is best learned from a pro mechanic.
You can get crazy with overhauling: greasing pivots, repacking hubs, cleaning shifters, etc. Party on! Before you know it, March will be here and your bike will be dialed in.
John Speare grew up and lives in Spokane. He rides his bike everywhere. Check out his blog at http://cyclingspokane.blogspot.com.