Every once in a while I explore making my own bike gear. I once put together a headlight using a 12-volt halogen bulb, a lead-acid battery, a PVC end cap, and other bits and pieces. It served me well until I decided to pay for a quality light system. I also made my own studded tires for my 26-inch mountain bike. Those tires have held up well over the years and I still have them.
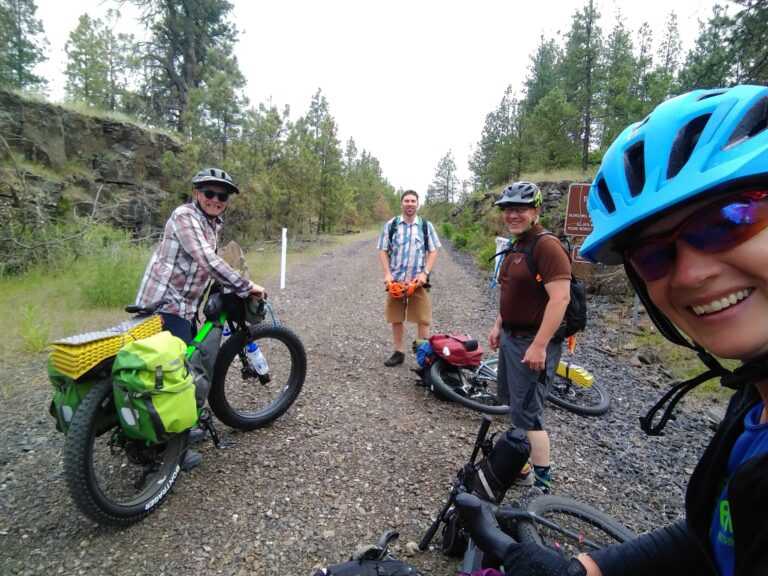
This time I took on the task of making a frame bag, a gas tank bag, and a porteur bag for my locally made Elephant National Forest Explorer bike. I was preparing to bikepack the Idaho Hot Springs Mountain Bike Loop and I needed bags to carry my gear. Buying bags would cost more than it would to make them. Plus, I wanted the bags to match the color scheme of the bike.
I scoured sites and found lots of tips and ideas, but my first challenge was relearning how to operate a sewing machine, which I hadn’t done since Nixon was in office. My wife let me use her older, heavier machine, which is what’s needed for this kind of work. She won it in 1988 on The Price Is Right where she also got to kiss Bob Barker. With a pedigree like that, how can it not work for me, right? The user guide disappeared many years ago, so through trial and error and some search-engine studying, I figured out how to wind and load a bobbin, set the stitch length, and thread the needle. I tackled the frame bag first.
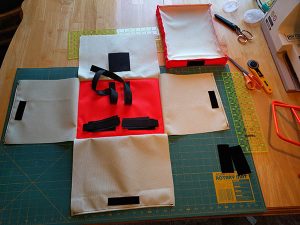
I created a pattern from the bike’s triangle and bought some cheap muslin material. I cut all the pieces out, including strips to simulate the Velcro strips that attach the bag to the frame. This practice was well worth the time. Getting used to the sewing machine boosted my confidence, and since the bag is sewn together inside out, it forced me to focus on the geospatial aspect. The muslin bag was enough of a success that I moved on to nylon.
The first nylon bag did not go well. Nylon is a thicker and stiffer material to work with, making the handling more awkward while running it through the machine. Once completed, the bag was, as my master seamstress next-door neighbor politely put it, “A bit catawampus.” But she also gave me some helpful advice for which I’m very grateful.
The next bag went together well — except for the part where I got the inside-out thing wrong and had to take one side completely apart and do it over. But the finished product looked good and, most importantly, it looked good on the bike. I sealed the inside seams and waterproofed the outside. I stuffed a towel inside and hung the bag out in the rain. For good measure I hit it with the hose for a while. The inside stayed dry. Success!
I sewed a gas tank bag without bothering with a prototype and mistakenly put one side of the Velcro straps on backwards. It was an easy fix and you don’t notice the mistake — much. The porteur bag, a box-shaped bag that sits on top of the porteur rack, was tricky because I had to figure out a reliable method for attaching the bag to the rack that would hold up to the punishment of bouncing over 500-plus miles of rough roads while holding 20 pounds of gear.
I used the bags on my bike packing trip in July. The porteur bag was functional, but I’d feel more comfortable with an improved mounting system. The frame and gas tank bags worked well. There’s a sense of pride and accomplishment that goes with making your own gear. It’s surprising just what you can make if you put your mind to it. Try it some time and you’ll see for yourself how fun and cool it can be.
Hank Greer is an avid photographer, runner, and cyclist, as well as an inconsistent Oxford comma dropper. To read his Everyday Cyclist and other OTO stories, visit our archives.